


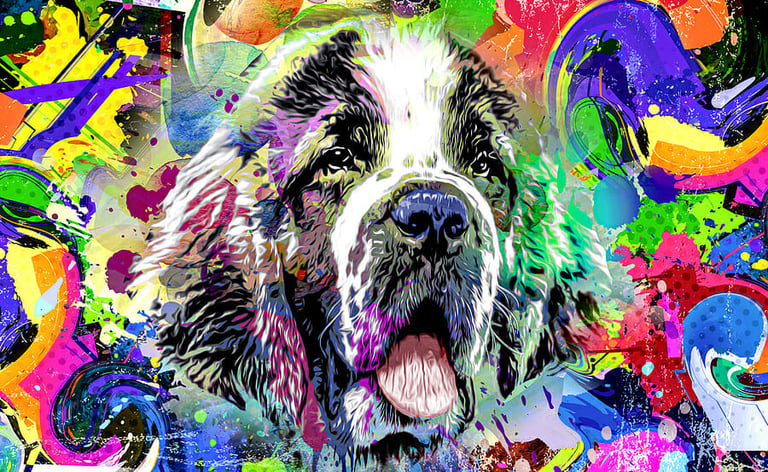
How to Paint Your Pet in 5 Easy Steps
 Story by:
Jimmy Bell
Story by:
Jimmy Bell
Have you ever tried to paint your pet?
As a pet lover, only listening to this idea excites you so what about doing it for real in an unproblematic way? It is one of the best ways to celebrate your pet’s life as it will help you seize the most beautiful moments of them. You might be considering it one of the challenging tasks but in reality, it isn’t.
In this article, I will explain how you can do it in 5 easy steps. Let’s get started.
Tools and Materials Required
Before starting painting your pet, ensure you have all the tools and supplies that will help you complete this task. You can quickly find them from your nearby stores. They include:
- Digital pet Picture
- Paint Brushes
- Per/Marker
- Printer
- Paint Palette
- Acrylic craft paint
- Tracing Paper
Painting your Pet in 5 Steps
Let’s go through the steps that will help you make a perfect portrait of your loveable pet.
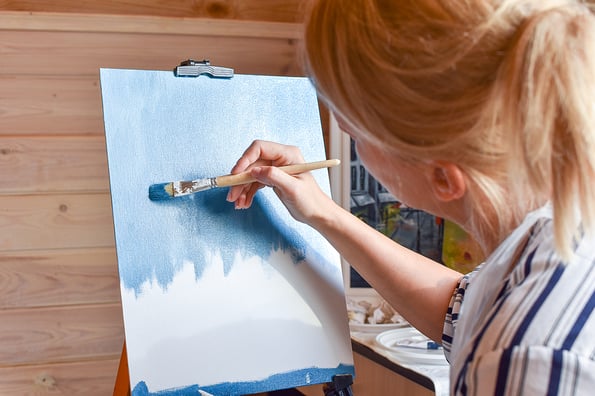
1- Select a perfect background Color
The background color plays a huge role in making an ideal portrait so ensure you have chosen the best one. Once you have selected, get your hands on an art paper and start painting the entire background with that color. If you are doing it for a client, ask for all the details including the style of the picture, and how they want the picture to look like. etc.
Once the background has been painted, let it dry for some time so that you can start sketching. You can use acrylic for painting as it is the fastest and easiest way as compared to oil paints because you have to wait for weeks to let them completely dry.
2- Print a Picture
Now you are done with the background, the next step is printing. You must have a digital picture of your pet in this regard so that you can print it in black or white. Printing it in black or white will help you examine the color contrast in a better and more understandable way. This process will take some time because you have to be careful so that picture doesn’t turn out too black and unrecognizable.
3- Transfer the Picture after outlining
With an art pencil, you have to make the important aspects of the pet prominent so that you can clearly acknowledge them. You can follow two different steps in this regard including sketch tracing or using carbon copy paper. While using pencils for outlining, ensure you have purchased soft graphite because it will help you easily transfer the photo to the canvas.
Now hold the digital picture of your pet firmly and with the help of a paint brushes blunt end, start rubbing the back of the page. This will give you an ideal sketch of your pet so that you can easily paint it later.
4- Paint Your pet
As a beginner, you might feel complicated during various steps so why not choose adult paint by numbers kits that will help you paint big items even when you have zero know-how about the painting? You can find this kit easily from stores. Other than that, you can also use custom paint by numbers.
5- Give the Final Touch
For final touching, you can make some points more prominent. You can highlight the eyes because it is the most important part that makes your pet recognizable. Do not forget to wash away your brushes because they mistakenly ruin your portrait sometimes.
I hope by the end of this guide you will finally be able to paint your pet in the easiest way possible.
Image Source: BigStockPhoto.com (Licensed)


Share options
Share a link that only Beer Connoisseur subscribers can access